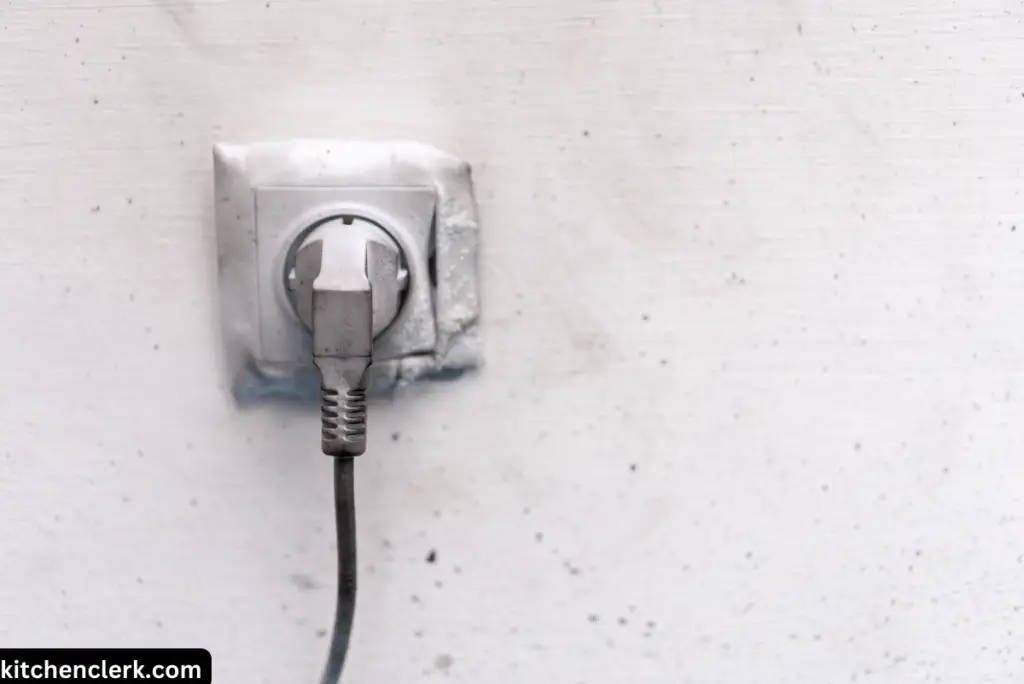
With years of experience working with various kitchen appliances, I understand the frustration that comes with a burnt out plug on a cooker. A cooker is an essential appliance in any kitchen, and when the plug becomes burnt out, it can disrupt your cooking routine and pose a safety hazard.
However, fixing a burnt out plug on a cooker is not as daunting as it may seem.
In this guide, I will walk you through the step-by-step process of fixing a burnt out plug on a cooker, ensuring that you can get back to cooking delicious meals in no time.
How To Fix Burnt Out Plug on a Cooker
1. Gather the Necessary Tools
Before you begin fixing the burnt out plug, make sure you have all the necessary tools at hand. These may include:
- Wire cutters/strippers
- Screwdriver
- Replacement plug (if needed)
- Electrical tape
- Heat shrink tubing (optional)
Having these tools readily available will make the process much smoother.
2. Examine the burnt out plug
The first step in fixing a burnt out plug on a cooker is to assess the extent of the damage. Examine the plug closely to determine if it is just the outer casing that has been affected or if the internal wiring has also been compromised.
If the damage is limited to the outer casing, you may be able to fix it yourself. However, if the internal wiring is damaged, it is best to seek professional help or replace the plug altogether.
3. Disconnect the power source
Safety should always be your top priority when working with electrical appliances. Before attempting to fix the burnt out plug, make sure to disconnect the power source. If your cooker is plugged into an outlet, unplug it from the wall. If it is hardwired to your electrical system, turn off the circuit breaker that supplies power to the cooker.
4. Remove the burnt plug
Once the power source is disconnected, you can proceed to remove the burnt out plug from the cooker. Most cooker plugs are attached using screws or clips. Use a screwdriver to remove any screws or release any clips that are holding the plug in place. Gently pull the plug out of the socket, being careful not to damage any surrounding wires.
5. Inspect the wires
With the burnt out plug removed, take a closer look at the wires. Look for any signs of burning or fraying that may indicate damage. If the wires appear to be in good condition, you can proceed with repairing the plug. However, if the wires are damaged, it is best to replace the entire plug.
6. Repairing the plug
If the wires are intact, you can proceed with repairing the plug. Follow these steps:
Step 1: Strip the wires
Using wire cutters or strippers, carefully remove about half an inch of insulation from the ends of both the live and neutral wires. Take care to avoid cutting or damaging the actual wires.
Step 2: Attach the wires to the new plug
Take the replacement plug and locate the connection points for the live, neutral, and earth wires. Insert the stripped ends of the live and neutral wires into their respective connection points, ensuring that the copper wire is securely inserted. Tighten the screws to secure the wires in place.
Step 3: Insulate the connections
To ensure a safe and secure connection, wrap each exposed wire connection with electrical tape. This will prevent any exposed wire from coming into contact with other surfaces and causing a short circuit.
Step 4: Optional – Heat shrink tubing
For added protection and a neater finish, you can use heat shrink tubing to cover the wire connections. Slide the tubing over the exposed wire connections and use a heat gun or lighter to shrink the tubing, creating a tight seal around the connections.
7. Reinstall the plug
Once you have repaired the plug, it’s time to reinstall it on the cooker. Carefully insert the plug back into the socket, making sure it fits securely. If there were screws or clips holding the plug in place, reattach them to ensure a firm connection.
8. Test the cooker
After reinstalling the plug, it’s important to test the cooker to ensure everything is functioning correctly. Plug the cooker back into the power source, turn it on, and check if it heats up properly. If the cooker is working as expected, congratulations! You have successfully fixed the burnt out plug on your cooker.
Conclusion
Fixing a burnt out plug on a cooker doesn’t have to be a daunting task. By following the steps outlined in this guide, you can safely and effectively repair the plug, restoring your cooker to working order.
I hope this guide has been helpful to you. If you have any questions or additional tips, feel free to leave a comment below. Have you ever experienced a burnt out plug on your cooker? How did you fix it? Share your tips and experiences in the comment section below.