Backsplashes are such a good way to make your kitchen look better and give it a little personality without spending a fortune. I love how a simple row of tiles or a sleek panel can completely change the vibe of the space you spend so much time in.
I’ve always thought installing a backsplash sounds like one of those jobs you have to hire a pro for, but it’s really not as scary as it seems. With a few tools and a bit of patience, you can totally do it yourself and feel proud of the space you’ve transformed with your own hands.
And the best part is, you don’t have to wait for someone else to do it, you can start and finish it at your own pace, and it actually ends up being kind of fun.

What You Need Before You Start
Tools and Materials
Gather these before you begin:
Tools
- Tape measure and pencil for marking.
- Level to keep your tiles straight.
- Notched trowel to spread adhesive.
- Tile cutter or wet saw for trimming tiles.
- Grout float for applying grout.
- Tile spacers for even gaps.
- Sponge and bucket for cleanup.
- Painter’s tape and drop cloths to protect counters.
- Safety gear (gloves, goggles).
Materials
- Your choice of backsplash tiles (ceramic and porcelain are easiest).
- Adhesive (thin‑set mortar or pre‑mixed mastic).
- Grout that matches your tile spacing.
- Grout sealer for protection once cured.
- Caulk for finishing edges where tile meets the countertop.
Tip: Order about 10–15% extra tile to cover mistakes and cuts.

Step‑by‑Step Installation
1. Prepare the area
Before you start sticking or setting any tiles, I always take some time to clear the counters and really clean the wall. I make sure there’s nothing in the way and that the wall is smooth and ready. I usually wipe it down with a damp cloth, get rid of any grease, dust, or old adhesive, and even sand little bumps if I need to.
I also like to remove the outlet covers and put down a drop cloth or some plastic to protect the counters. It’s a little extra work upfront, but it makes everything go smoother later. Once the space is ready, I feel a lot more confident about the next steps, and it’s way less stressful than trying to fix mistakes as I go.
2. Measure and plan your layout
This is the part I spend the most time on, and honestly, it’s worth it. I measure the width and height of the area and think about how the tiles will fit. I like to dry lay a few tiles on the counter to see how it will look before I stick anything.
It helps me figure out if I need to trim some tiles at the edges or around outlets. I always draw a level line on the wall as my starting point so the first row is straight. This little planning step saves me a ton of headaches and keeps everything looking neat and balanced.
3. Mix and apply adhesive
Once the planning is done, I mix my adhesive according to the instructions. Some people like thin‑set mortar, and some like pre‑mixed mastic. I use a notched trowel to spread it evenly on a small section of the wall at a time.
Working in small sections is key because the adhesive can dry fast if you try to do too much at once. I try to keep the layer thin and consistent, just enough to hold the tiles firmly. Seeing the adhesive spread smoothly always makes me feel like the project is actually starting to come together.
4. Set the tiles
This is my favorite part because you start to see the backsplash really take shape. I press each tile gently into the adhesive, using spacers to keep the grout lines even. I keep a level handy and check frequently to make sure nothing is tilting.
I usually work from the center out so everything stays symmetrical and neat. It’s kind of satisfying to see a row of tiles all lined up perfectly, and it motivates me to keep going. I take my time here because a straight row makes the whole backsplash look professional, even though I did it myself.
5. Cutting tiles
Inevitably, there are a few tiles that need trimming at the edges or around outlets. I mark carefully where I need to cut and use a tile cutter or wet saw. Cutting tiles can feel intimidating at first, but I’ve learned that slow and steady is the best approach.
I make sure to wear gloves and take my time measuring twice before I cut. It’s amazing how just a few cuts make everything fit perfectly and make the finished backsplash look seamless and clean.
6. Let the adhesive set
After all the tiles are in place, I give the adhesive some time to set. I usually wait around 24 hours, but I always check the instructions on the package. I try not to touch or move anything during this time because even a little shift can ruin the alignment. It’s a good moment to step back, relax, and admire the work so far. Letting it cure properly makes the next step, grouting, much easier and cleaner.
7. Grout the tiles
Once the adhesive is dry, I remove the spacers and mix the grout. I like to use a float at a 45‑degree angle to press the grout into all the spaces between the tiles. Then I wipe the excess off with a damp sponge.
I usually go over the tiles a few times as the grout starts to set to make sure the lines are smooth and even. This part can be a little messy, but it’s also when the backsplash starts to feel complete. Seeing the grout fill in those tiny spaces really brings the whole look together.
8. Seal and finish
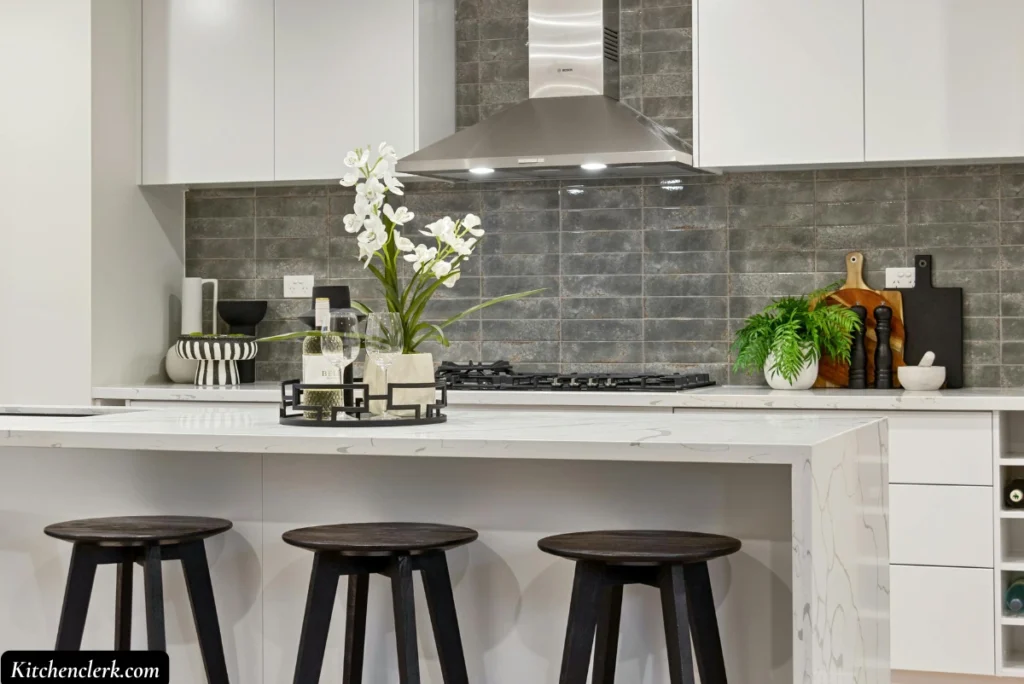
The final step is sealing the grout and finishing the edges. I apply a grout sealer once the grout has cured to protect it from stains and moisture. I also run a line of caulk where the backsplash meets the countertop to keep water out and give it a polished finish.
Finally, I replace the outlet covers and wipe everything down. At this point, the backsplash feels like it’s been there forever, and I love that I did it myself. It’s so satisfying to see a space that looks fresh, neat, and a little more stylish, all because I took the time to do it with my own hands.
9. Easier alternatives
If you want something less traditional, peel‑and‑stick tiles are a lifesaver. I like them because they just stick on after you clean the wall, no messy mortar or grout needed. They aren’t as permanent as regular tiles, but they’re perfect if you want a quick refresh.
Another option is adhesive tile mats, which act like a sticky base for tiles and make sticking them on much simpler. Both options are beginner-friendly and let you get a polished look without all the traditional steps.
Wrapping up
Installing a backsplash yourself is one of those projects that feels big but is totally doable with a little patience and planning. Taking the time to prep, measure, and work carefully really pays off, and even small touches like cutting tiles and sealing grout make a huge difference in the finished look. Whether you go with traditional tiles or an easier peel-and-stick option, adding a backsplash transforms your kitchen and gives it a fresh, polished feel.
