I didn’t use to be a fan of painting my cabinets with chalk paint. The first time I heard about it, I thought it was just one of those trendy DIY things people got excited about online. But then I tried it on an old cabinet in my kitchen, and that changed everything. The smooth, soft finish surprised me, and I couldn’t believe how easy it was to refresh my cabinets without going through a full renovation.
Over time, I’ve learned that spraying chalk paint can completely change how your cabinets look and feel. It’s quick, gives great coverage, and leaves that beautiful matte finish. The secret is knowing what to expect before you start. Once you understand those things, spraying chalk paint on cabinets becomes one of the easiest and most satisfying home projects you can take on.
What To Know Before Spraying Chalk Paint On Cabinets
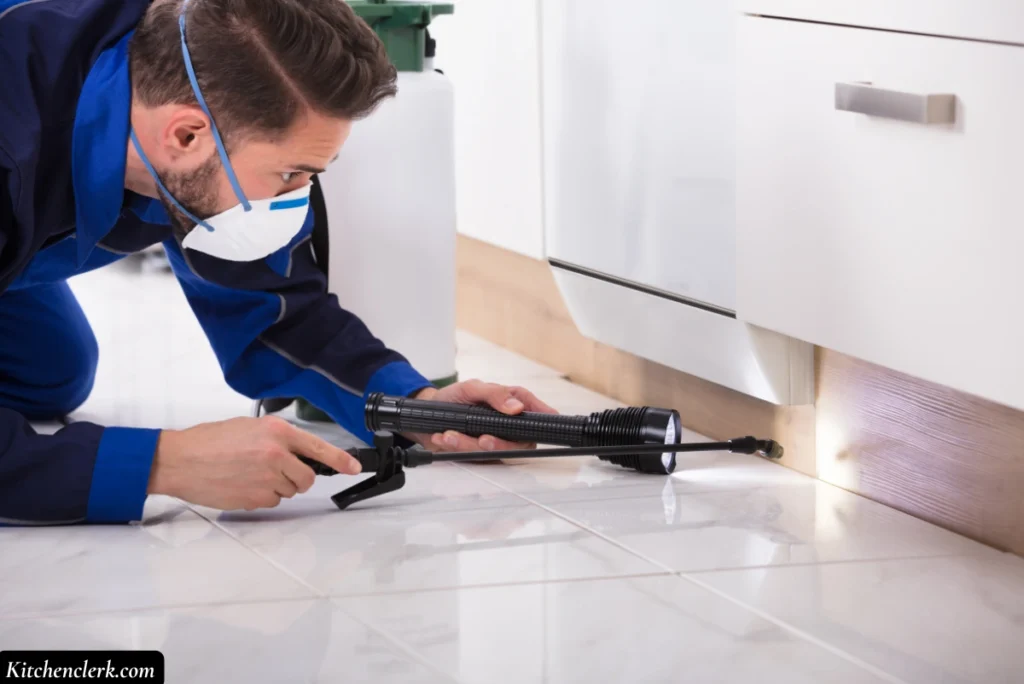
When I first started using chalk paint on cabinets, I made a few mistakes that taught me a lot. Spraying chalk paint sounds simple, but there are small things you should know before you start. These little details can make the difference between a smooth, beautiful finish and one that looks patchy or uneven. Here are five things I’ve learned that will help you get it right from the start.
1. Preparation makes all the difference
Chalk paint sticks better than most paints, but that doesn’t mean you should skip prep. Before painting, clean your cabinets really well. Wipe off every bit of grease and dust. If they’ve been polished or waxed before, make sure that’s gone too. After cleaning, give them a light sand just to help the paint grab onto the surface. If there are holes or scratches, fill them in and smooth them out. Once you spray, every little bump shows, so it’s better to fix it early.
2. The paint needs to be thinned a little
Chalk paint is usually thick, and that’s fine for brushing, but when you’re spraying, it needs to flow smoothly. I always pour the paint into a clean container and add a little water, mixing slowly until it feels right. If it’s still heavy, add just a bit more water. You’ll know it’s ready when it runs easily off your stir stick. I also like to strain it before pouring it into the sprayer because tiny lumps can clog the nozzle.
3. Spraying takes a bit of practice
If you’ve never used a spray gun before, don’t worry, you’ll get the hang of it. Try spraying on a piece of cardboard first, just to test how the paint comes out. When you move to your cabinets, keep your hand steady and move in straight, even strokes. Don’t stay too long in one spot, or the paint will pool and drip. I like to overlap each pass just a little so everything blends nicely. Once you get a rhythm, it feels really satisfying.
4. Light coats work better than heavy ones
It’s tempting to spray one thick coat and call it a day, but that’s how runs and uneven patches happen. I always go for two or three thin coats instead. The first one might look light or patchy, but don’t panic, that’s normal. By the second coat, it starts to even out, and by the third, it looks perfect. Give each coat enough time to dry before adding the next so the finish stays smooth and clean.
5. Always seal it when you’re done
Chalk paint alone won’t protect your cabinets for long. It looks pretty, but it’s not tough enough for daily kitchen use without a seal. Once the paint is completely dry, you’ll need to seal it with either a clear wax or a topcoat. I prefer a clear seal because it keeps the matte look but still makes it easy to wipe clean. Let it dry well before putting your cabinet doors back on or using them again. It’s the last step, but it’s what keeps your hard work looking good for a long time.
How To Spray Chalk Paint On Cabinets
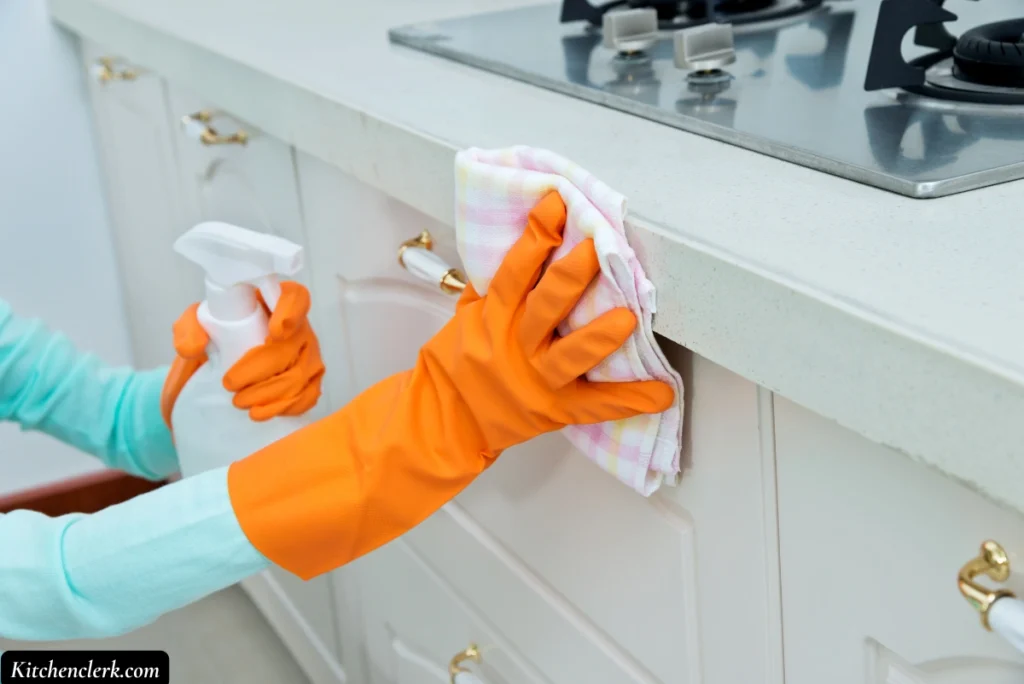
Spraying chalk paint on cabinets might sound tricky, but once you understand the process, it’s actually quite simple. I remember the first time I tried it, I was nervous about making a mess, but after the first few sprays, it started to feel easy and even fun. It’s one of those projects that feels rewarding because you can see the transformation almost instantly. Here’s exactly how I do it, step by step.
1. Clean the cabinets properly before doing anything else
This is the first thing I always do. I take off all the handles and hardware, then wipe the cabinets down with mild soap and warm water. You’ll be surprised at how much hidden grease or dust can sit on them, especially in the kitchen. If that dirt stays, the paint won’t stick well. After wiping, I let everything dry completely before moving on.
2. Give the surface a light sanding
Once the cabinets are clean, I sand them lightly with fine-grit sandpaper. This isn’t about stripping the wood; it’s just to help the paint stick better. I focus more on the shiny areas because chalk paint grips better on a slightly rough surface. When I’m done sanding, I use a damp cloth to wipe away all the dust so the surface feels clean and smooth.
3. Set up a clean and open spray area
I always make sure I have enough space to work comfortably. I spread out drop cloths to catch overspray and make sure there’s good airflow. Good lighting helps too because it’s easier to see how evenly you’re spraying. If you’re painting cabinet doors, it’s better to lay them flat instead of spraying them upright so the paint doesn’t run.
4. Spray in light, even coats
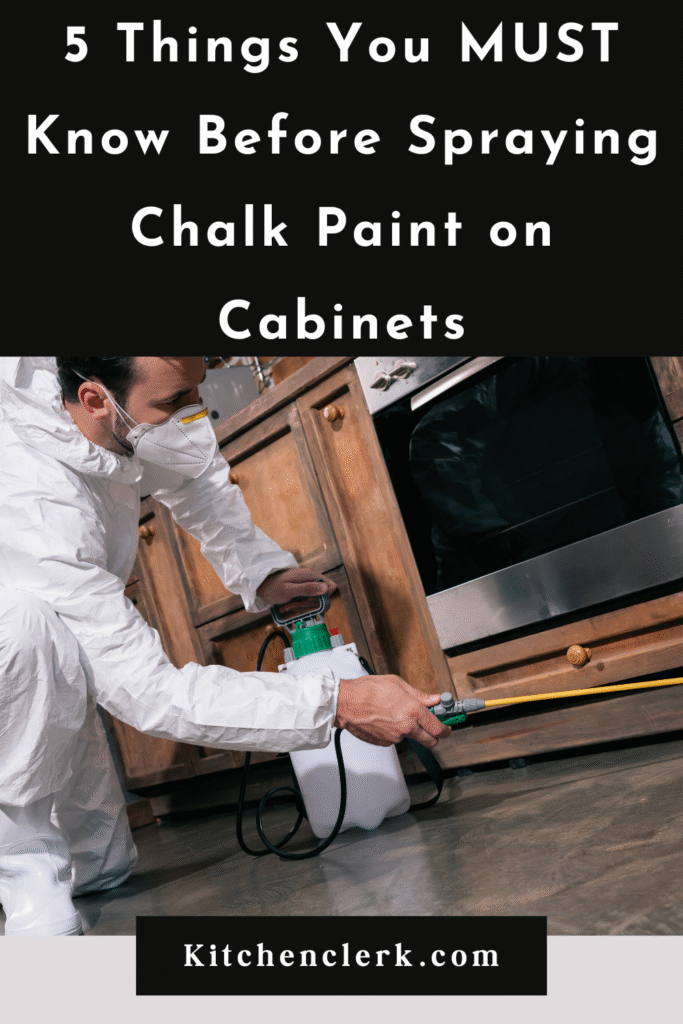
Now comes the fun part. I hold the spray gun about 10 to 12 inches from the cabinet and move in steady, straight lines. I don’t bend my wrist or stop halfway; I keep my hand moving smoothly across each section. The trick is to spray lightly and overlap each pass just a little so there are no streaks or patches. I let each coat dry completely before applying the next one. Usually, two or three thin coats look the best and give that soft, smooth finish.
5. Let it dry completely and seal the surface
Once I’m happy with how it looks, I let the paint dry for several hours. When it feels completely dry to the touch, I apply a clear sealer or wax to protect it. I take my time sealing it because that’s what gives the finish its strength and smooth touch. After sealing, I let everything cure for a day or two before putting the hardware back and re-hanging the doors.
Conclusion
Spraying chalk paint on cabinets is one of those projects that feels easier the more you do it. Once you learn how to prep, spray lightly, and seal it well, you’ll love how smooth and fresh everything looks. It gives your cabinets a soft, pretty finish that feels cozy and clean, and the best part is, you get to enjoy a whole new look without spending much or hiring anyone.
