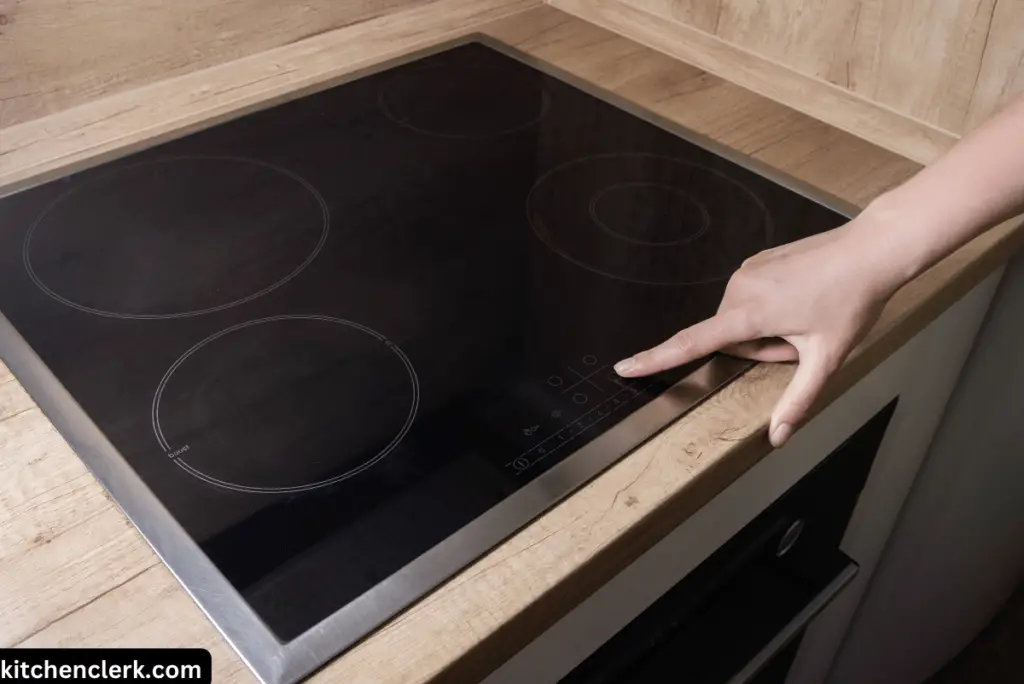
Are your electric cooker plates looking greasy and dirty? Don’t worry, I’ve got you covered.
I know how important it is to keep your kitchen appliances clean and well-maintained. Electric cooker plates are no exception. Regular cleaning of these plates not only ensures optimal cooking performance but also helps to extend their lifespan.
In this comprehensive guide, I will walk you through the step-by-step process of cleaning electric cooker plates effectively.
You’ll learn about the tools and materials you’ll need and additional tips and tricks to make the cleaning process a breeze.
Get ready to say goodbye to stubborn stains and hello to sparkling clean electric cooker plates.
How To Clean Electric Cooker Plates

Tools and materials you will need;
- Dish soap
- Baking soda
- Rubber gloves
- Soft sponge or cloth
- Microfiber cloth
- Plastic spatula or scraper
- Cooktop cleaner (optional)
- Vinegar (optional)
Step 1: Turn off the electric cooker
Before starting the cleaning process, ensure that the electric cooker plates are turned off and cool to the touch. This will prevent any accidents or burns during the cleaning process.
Step 2: Remove loose debris
Use a plastic spatula or scraper to gently remove any loose debris or food particles from the electric cooker plates. Be careful not to scratch the surface of the plates while doing this.
Step 3: Prepare a cleaning solution
Fill a sink or basin with warm water and add a few drops of dish soap. Mix the soap into the water until it forms a soapy solution.
Step 4: Soak and clean
Dip a soft sponge or cloth into the soapy water and wring out any excess liquid. Gently scrub the electric cooker plates using circular motions. Pay extra attention to areas with stubborn stains or grease buildup. For tough stains, you can sprinkle some baking soda onto the sponge or cloth and continue scrubbing.
Step 5: Rinse the cooker plate
Once you have finished scrubbing, rinse the electric cooker plates thoroughly with clean water to remove any soap residue. Make sure to rinse off all the soap, as it can leave a film on the plates if not fully washed off.
Step 6: Dry and polish
Using a microfiber cloth, dry the electric cooker plates completely. This will prevent any water spots or streaks from forming. If desired, you can also give the plates a final polish using a cooktop cleaner or vinegar. Apply a small amount of the cleaner or vinegar to the microfiber cloth and gently buff the plates in circular motions.
Additional Tips and Tricks
- Regular maintenance: To prevent excessive buildup of grease and stains on your electric cooker plates, cleaning them regularly after each use is important. This will make the cleaning process easier and less time-consuming.
- Avoid abrasive cleaners: Avoid using abrasive cleaners or scouring pads on electric cooker plates, as they can scratch the surface. Stick to gentle cleaning methods using mild dish soap, baking soda, or cooktop cleaner.
- Remove stubborn stains: You can make a paste using baking soda and water for stubborn stains or burnt-on food. Apply the paste to the stains, let it sit for a few minutes, and then scrub gently with a soft sponge or cloth.
- Preventative measures: To keep your electric cooker plates cleaner for longer, consider using non-stick cooking spray or placing a protective liner on the plates before cooking. This will help to prevent food from sticking and reduce the chances of stains or grease buildup.
- Regular deep cleaning: In addition to regular cleaning, it is recommended to deep clean your electric cooker plates at least once a month. This involves removing the plates from the appliance and soaking them in a sink filled with warm soapy water. Scrub them gently with a sponge or cloth before rinsing and drying thoroughly.
If you found this guide helpful or have any additional tips to share, feel free to leave a comment below.
