
If you’re a fan of healthier cooking options without sacrificing taste, then you’re probably familiar with the Gowise Air Fryer. This handy kitchen appliance allows you to enjoy your favorite fried foods with significantly less oil, resulting in a guilt-free indulgence.
However, like any cooking device, it’s important to preheat your Gowise Air Fryer before adding your ingredients to ensure optimal cooking results. In this blog post, I’ll guide you through the process of preheating your Gowise Air Fryer in 9 simple steps.
How to Preheat Gowise Air Fryer In 9 Simple Steps
Step 1: Read the manual
Before diving into the preheating process, it’s essential to familiarize yourself with your Gowise Air Fryer’s instruction manual. Different models may have specific guidelines and recommendations for preheating. Taking a few minutes to read the manual will ensure that you follow the manufacturer’s instructions and properly preheat your air fryer.
Step 2: Clean the air fryer basket
Start by removing the Air Fryer basket from your Gowise Air Fryer. Give it a quick wash with warm, soapy water to remove any residual oil or food particles. Rinse thoroughly and dry the basket completely before placing it back into the air fryer.
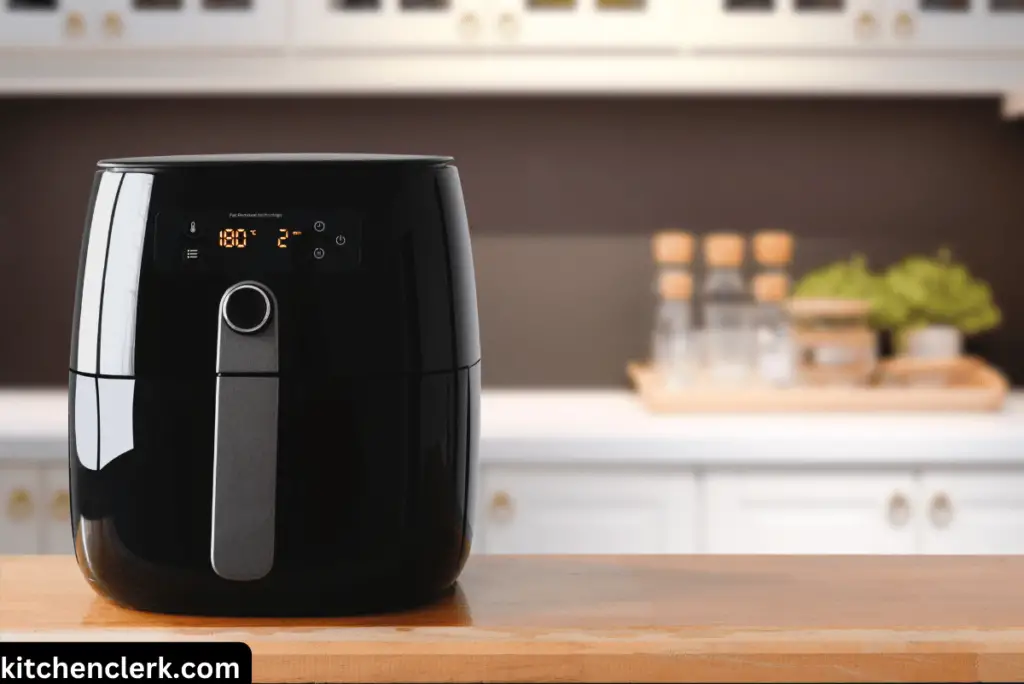
Step 3: Preheat the air fryer
Plug in your Gowise Air Fryer and set the temperature to the recommended preheating temperature, usually around 400°F (200°C). Allow the air fryer to preheat for approximately 3 to 5 minutes. Preheating will ensure that the cooking chamber reaches the desired temperature, providing a consistent cooking environment for your food.
Step 4: Adjust the time and temperature
Adjust the cooking time and temperature for your specific recipe once the air fryer has reached the desired preheating temperature. This will depend on the type of food you plan to cook. Check your recipe or use a temperature guide for reference. The Gowise Air Fryer typically allows you to adjust the temperature in 5°F (2°C) increments and set the cooking time in 1-minute intervals.
Step 5: Place the food in the air fryer basket
While the air fryer continues to preheat, prepare your food by seasoning or marinating it according to your recipe. When the preheating process is complete, carefully open the air fryer basket and place your food inside. Be mindful not to overcrowd the basket, as this can affect the air circulation and cooking efficiency.
Step 6: Close the air fryer and start cooking
Gently close the air fryer basket, making sure it is securely in place. Set the desired cooking time on the control panel and let the Gowise Air Fryer work its magic. The precise temperature control and rapid air circulation will ensure that your food cooks evenly and achieves that crispy, golden texture.
Step 7: Monitor the cooking process
While your food is cooking, it’s essential to keep an eye on the progress. You can use the display panel on your Gowise Air Fryer to check the remaining cooking time and adjust any settings if necessary. However, refrain from opening the basket excessively, as this can disrupt the cooking process and release heat, resulting in unevenly cooked food.
Step 8: Flip or shake the food
Depending on the recipe, you may need to flip or shake the food halfway through the cooking process. This step helps ensure even browning and prevents any sticking or clumping. Use tongs or a spatula to flip or shake the food gently. Be cautious, as the air fryer basket and food may be hot.
Step 9: Check for doneness and enjoy
As the cooking time comes to an end, check your food for doneness. Use a meat thermometer to ensure meat or poultry is cooked to the proper internal temperature. For crispy items like fries or chicken wings, check for a golden brown color and a satisfying crunch. Once your food is perfectly cooked, carefully remove the air fryer basket and transfer the contents to a serving dish. Allow a few minutes for any residual heat to dissipate before enjoying your delicious creation.
Conclusion
There you have it, the simple steps to preheating your Gowise Air Fryer. By following these steps, you’ll ensure that your food cooks evenly and achieves that fantastic crispy texture that the Gowise Air Fryer is known for. So go ahead, experiment with different recipes, and let your air fryer bring out the best in your culinary creations!
Have you tried preheating your Gowise Air Fryer before? Share your experience and any tips you have in the comments below!