
Self-cleaning ovens make life so easy for someone like me who loves to cook but doesn’t exactly enjoy the part that comes after. The self-cleaning feature feels like a lifesaver. It saves time, saves energy, and keeps me from scrubbing endlessly with baking soda and vinegar like I’m in some kitchen workout.
But while this feature sounds like magic, it can also be a bit tricky if not handled the right way. I’ve heard stories of ovens filling up with smoke or, worse, catching fire because of leftover grease or food spills.
And honestly, that’s the last thing anyone wants when all they were trying to do was clean. So, if you use the self-cleaning feature often or plan to try it soon, it’s worth learning a few simple things that can help you prevent oven fires and keep your kitchen safe.
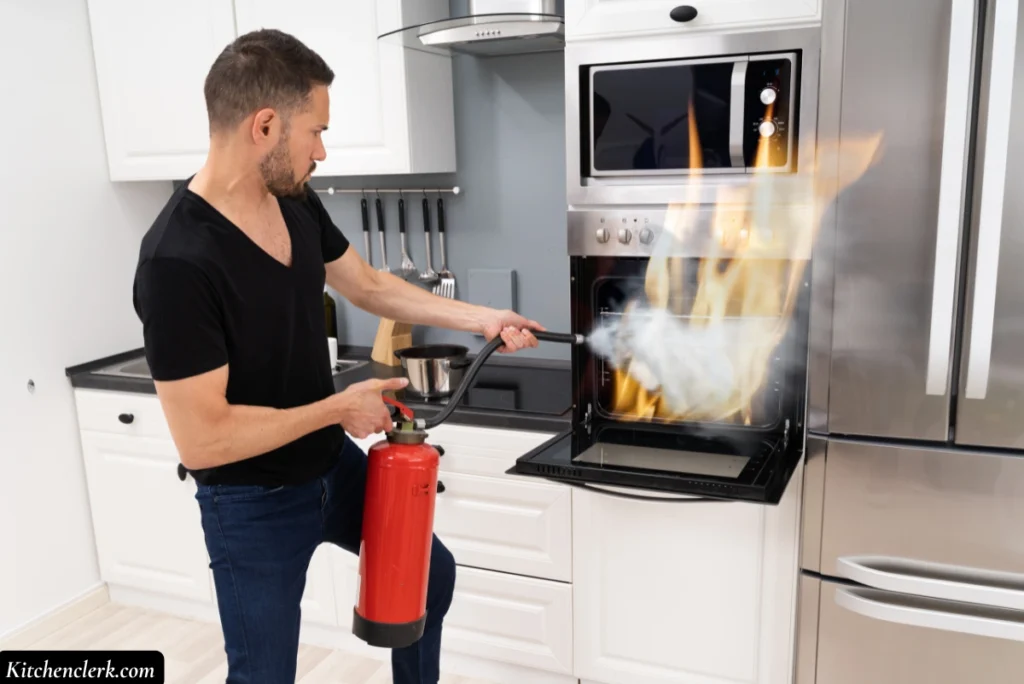
10 Steps to Prevent Oven Fires While Self-Cleaning
1. Read the manufacturer’s manual
I know this sounds like one of those steps everyone skips, but it’s actually the best place to start. Every oven brand has its own way of doing things, and not all self-cleaning functions work the same. Some use higher heat, while others use steam. I learned this after using my old oven’s self-clean mode the same way I did with a new one, and it didn’t end well.
The smell, the smoke, the confusion, it was a mess. So now, before I clean, I grab that small instruction booklet and glance through the section about self-cleaning. It tells you what to remove, how long it takes, and any special warnings for your model. It only takes a few minutes, but it saves me from unnecessary drama later.
2. Pre-clean major debris before starting
Before I ever hit that self-clean button, I always give the oven a quick once-over. I take out any big crumbs, greasy spills, or burnt pieces that might still be sitting inside. You don’t have to scrub deeply, just wipe down the inside gently with a damp cloth or mild soap. Sometimes I even sprinkle a bit of baking soda on stubborn spots, let it sit for a few minutes, and wipe it off.
I always do this because leftover grease or bits of food can actually catch fire when the oven gets extremely hot. The self-cleaning feature isn’t meant to handle thick layers of grime; it just turns light residue to ash. So getting rid of the big stuff first keeps things safe and smoke-free.
3. Remove oven racks, cookware, and accessories
This is another step that’s easy to ignore but really important. When the oven gets up to around 900 degrees during cleaning, even metal racks can get discolored or lose their shine. I’ve seen my racks go from shiny silver to dull gray in one cleaning.
So now I take everything out, racks, trays, thermometers, even that forgotten baking dish I once left inside. Some people wrap their racks in foil and keep them in, but I don’t recommend that. The foil can block airflow and cause uneven heating. I just soak my racks in warm, soapy water while the oven cleans itself. That way, everything comes out looking fresh when it’s all done.

4. Ensure good ventilation and airflow
If you’ve ever used a self-cleaning oven before, you already know how smoky it can get. That’s why I make sure to open my kitchen windows wide and turn on the vent fan before starting. Even with a clean oven, a little smoke or smell is normal because the grease burns off at such high heat.
If the air doesn’t move around, it can make your kitchen feel hot and stuffy fast. I sometimes even run a small standing fan near the doorway to push air out. It helps the smoke clear faster, and the smell doesn’t linger as long. Fresh air makes the whole process more bearable, especially if you’re at home while it runs.
5. Keep children, pets, and flammables away
When that oven starts heating up, I treat it like a “no-go zone.” The sides, the door, even the air around it get hot enough to hurt if you touch it. I make sure my pets aren’t wandering close, and I move kitchen towels, paper, or anything flammable away from the area.
If I’m cooking later that day, I just make space somewhere else and leave the oven alone until it cools. I also like to do my self-cleaning when the house is calm, no kids running around or guests coming over. It’s just easier that way, and I don’t have to worry about anyone getting too close or the smell bothering them.
6. Stay nearby and don’t leave it unattended
I’ve learned to never treat the self-clean cycle like one of those “set it and forget it” moments. These ovens work at extreme heat levels, and though they’re built to handle it, I always stay nearby. I might be in the living room reading or doing laundry, but I stay close enough to notice if anything changes.
If the oven starts making strange noises or producing more smoke than usual, I can check right away. Leaving it running while you step out of the house is risky. Even a small issue can turn big if no one’s around to notice. It’s just a better peace of mind knowing I’m nearby if something needs my attention.
7. Understand warning signs
Sometimes, even when I’ve done everything right, I still see a bit of smoke or hear a popping sound during cleaning. That doesn’t always mean something is wrong, but I pay attention. If it ever looks like more than normal, like heavy smoke or a glowing patch inside, I turn off the oven and wait for it to cool down completely.
The oven locks itself for safety, so I don’t try to open it or touch it until it’s done. Opening the door while it’s still blazing hot can feed oxygen to whatever’s burning and make it worse. Once it cools, I open it slowly and check what caused it. Usually, it’s just leftover grease or a missed crumb that decided to burn off a little too dramatically.
8. Let the oven cool fully before opening
When the cleaning cycle ends, I always remind myself to be patient. That oven has just reached temperatures hotter than most people’s grills, and it needs time to cool down. The door usually stays locked for a reason; it’s still way too hot inside.
I wait until I can touch the handle comfortably before even thinking about opening it. If you open it too soon, you’ll release hot air and ash into your kitchen, and that can make a smoky mess. When it’s finally cool, I open it slowly, let the air settle, and then start wiping it down. The extra few minutes of waiting make everything much easier to handle.
9. Wipe out ash residue only after cooling
After everything cools down, I usually find a thin layer of white or gray ash at the bottom. That’s just what’s left after all the grease and crumbs burn away. I use a damp microfiber cloth or paper towel to gently wipe it out. Sometimes I go over it twice just to make sure it’s spotless.
I also check around the edges and corners because ash likes to hide there. If there are stubborn spots that didn’t burn off, I use a soft sponge with a little baking soda paste to lift them. It’s simple and keeps the oven looking brand new again.
10. Use the self-cleaning mode less often
I used to think I had to use the self-cleaning feature every time the oven looked dirty, but I’ve learned that less is better. The heat is so intense that using it too often can actually wear down the oven’s parts faster. Now, I save it for deep cleaning once or twice a year, usually before holidays or big family gatherings when I know I’ll be cooking a lot.
The rest of the time, I just wipe up small messes as soon as the oven cools after cooking. It takes a minute or two, and it keeps things from getting out of hand. My oven has lasted longer, and I’ve had zero smoky surprises since I started doing it this way.
Conclusion
Using the self-cleaning feature can be a real time-saver, but it needs a little care. I’ve found that taking a few simple steps before and after cleaning makes all the difference. It keeps my oven safe, lasts longer, and saves me from any smoky surprises. A little attention now means I can enjoy that clean oven smell without any worries later.
